🚗 Dash cam guide
How to Install a Dash Cam in Your Car: Plug-in, Hardwire and OBD
Three ways to power a dash cam
An OBD kit plugs into the diagnostic port under the dashboard, which has constant power, and switches to parking mode when it senses the engine is off. It is the easiest way to get parking mode. Electric cars need an EV-specific OBD kit — NEXDIGITRON and 70mai sell separate EV versions — because the port behaves differently.
A hardwire kit has three wires: constant power (to a fuse that is live all the time), ACC (to a fuse that is live only with the ignition on) and ground (to a bare metal bolt). The camera uses the ACC wire to know when to switch between driving and parking mode.
| Method | Parking mode | Effort | Cost |
|---|---|---|---|
| 12 V socket (cigarette lighter) adapter | No (unless the socket stays live) | 5 minutes | Included |
| OBD-2 power kit | Yes | 10–15 minutes, no fuse-box work | ₹2,999–₹3,199 |
| Hardwire kit to the fuse box | Yes | 45–90 minutes | ₹1,799–₹2,873 |
Mounting the front camera
- Behind the rear-view mirror stem, so it is out of your sight line and hard to see from outside.
- Inside the area the wipers clear, or the camera records rain and dirt in the monsoon.
- Clear of the dark dotted 'frit' band at the top of the glass if it blocks the lens, and clear of any ADAS camera housing or rain-sensor module.
- Clean the inside of the glass with alcohol, apply the electrostatic film first (it makes removal easy and protects the glass), then the adhesive mount on top.
- Level the lens so the horizon sits slightly below the middle of the frame — about 60% road, 40% sky.
Routing the wires invisibly
- Tuck the cable into the gap between the headliner and windscreen with a plastic pry tool, across to the passenger-side A-pillar.
- Run it down the A-pillar alongside — never in front of — the curtain airbag, inside the door rubber seal, then under the glovebox to the fuse box or OBD port.
- Use cable clips where the wire crosses open space so it cannot rattle or droop into the footwell.
Important
Fitting the rear camera by body type
For a tailgate-mounted camera, the cable must cross the hinge through the rubber boot that carries the factory wiring. Pull it through with a stiff wire guide; never let it hang loose across the hinge where it will be cut when the tailgate closes.
| Body type | Where to mount | Watch out for |
|---|---|---|
| Sedan (City, Verna, Virtus, Slavia, Dzire) | Top-centre of the rear windscreen | Defogger lines — place the lens between them; parcel-shelf speakers |
| Hatchback (Swift, Baleno, i20, Tiago, Punch) | Top of the rear glass, below the spoiler | Steep glass: angle the lens down so it sees the road, not the sky; the rear wiper's sweep |
| SUV (Creta, Nexon, XUV700, Scorpio-N, Fortuner) | Top of the tailgate glass | Long cable run — check the included cable length; route through the tailgate rubber grommet |
| Thar / soft-top or open-back vehicles | Inside the hard top, or an exterior waterproof camera | Exterior cameras need an IP67-rated unit and a sealed cable entry |
Hardwiring step by step
- Find the fuse box (usually beside the driver's knee or behind the glovebox) and the fuse chart on its cover.
- Identify the fuse type: standard (ATO), mini, low-profile mini or micro2. Pull a fuse and compare — hardwire kits usually include several fuse-tap types.
- Use a test light or multimeter: the constant fuse is live with the ignition off; the ACC fuse is live only with the ignition on. Pick non-critical circuits such as the 12 V socket or audio, never airbags or ABS.
- Insert the add-a-fuse tap with the original fuse in its lower slot and the kit's fuse in the upper slot. Nothing is cut.
- Attach the ground ring to a bare metal bolt on the body or dashboard frame.
- Set the kit's low-voltage cut-off, tidy the cables and test both ignition-on recording and parking mode before refitting trims.
Low-voltage cut-off: what to set
If the car ever struggles to start after a night of parking mode, raise the cut-off one step. Electric cars use the 12 V auxiliary battery for this, so use an EV-specific kit and the higher settings.
| Setting | Use when |
|---|---|
| 12.4 V | Old or weak battery; car parked for days |
| 12.2 V | Cautious default; winter mornings in north India |
| 12.0 V | Most cars with a healthy battery — the usual starting point |
| 11.8 V | Longest parking recording; only with a strong, new battery |
Professional installation and cost
Brands' own installation prices are a useful benchmark: Qubo lists ₹707 for a front camera and ₹1,179 for front and rear (₹1,674 for its N-series rear cameras), and NEXDIGITRON offers paid installation at authorised centres in Pune and Bengaluru. Car-accessory shops in most cities fit dash cams for a similar fee; ask whether the price includes hardwiring and hiding the rear cable.
Frequently asked questions
Can I install a dash cam myself?
Does hardwiring a dash cam void the car's warranty?
OBD or hardwire kit — which is better?
What does dash cam installation cost in India?
Still not sure which dash cam fits?
Tell us your city and situation. We will give you a straight answer — including when the honest answer is that you do not need to spend much at all.
Shortlists that follow this advice
Read next
Our current top dash cams
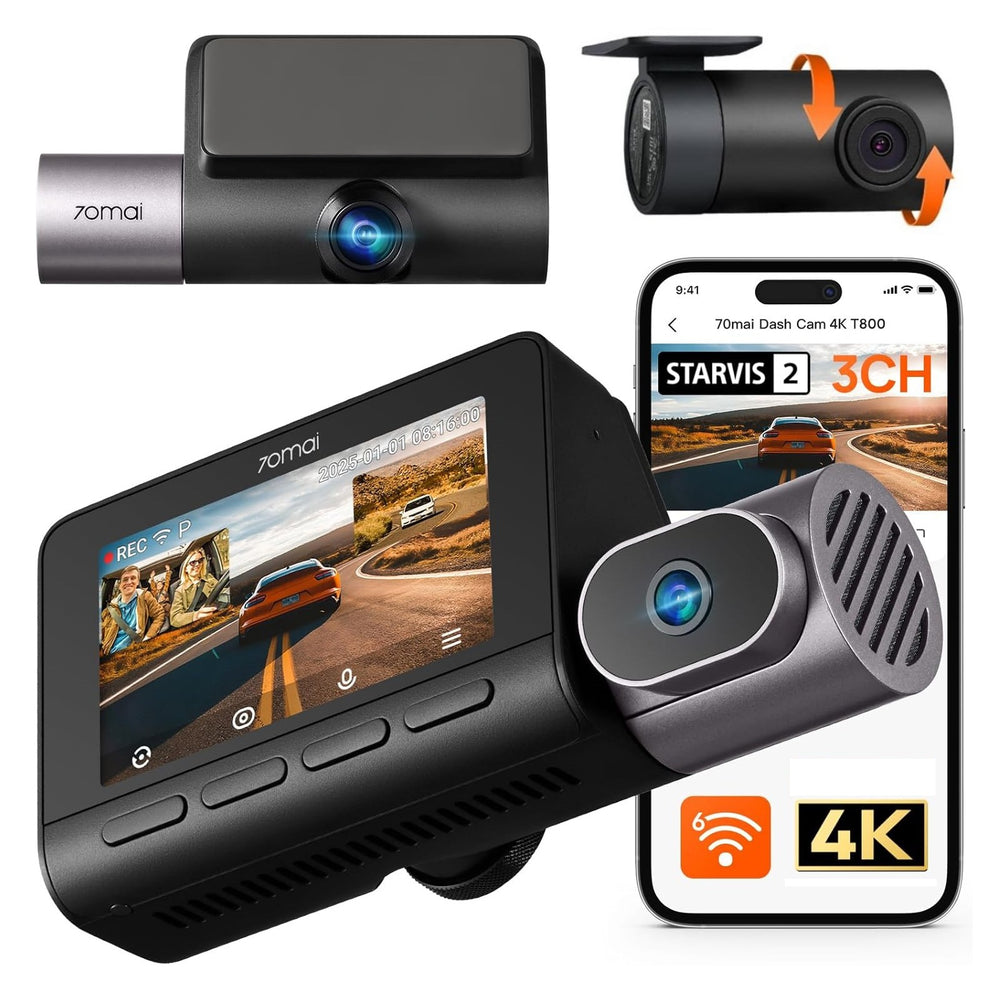
70mai T800 4K+FHD+FHD 3-Channel Dash Cam
70mai
Cab, taxi and fleet drivers who need the cabin on record
View details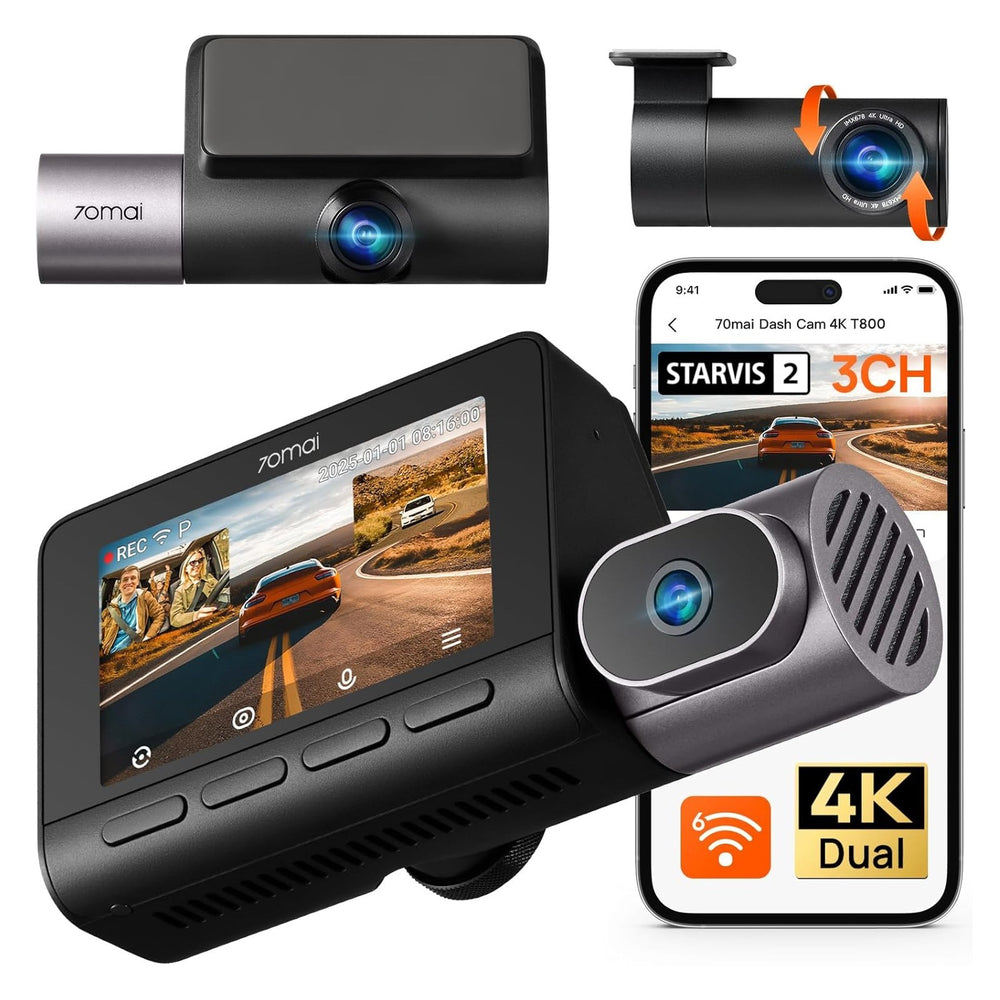
70mai T800 4K+4K+FHD 3-Channel Dash Cam
70mai
Cab, taxi and fleet drivers who need the cabin on record
View details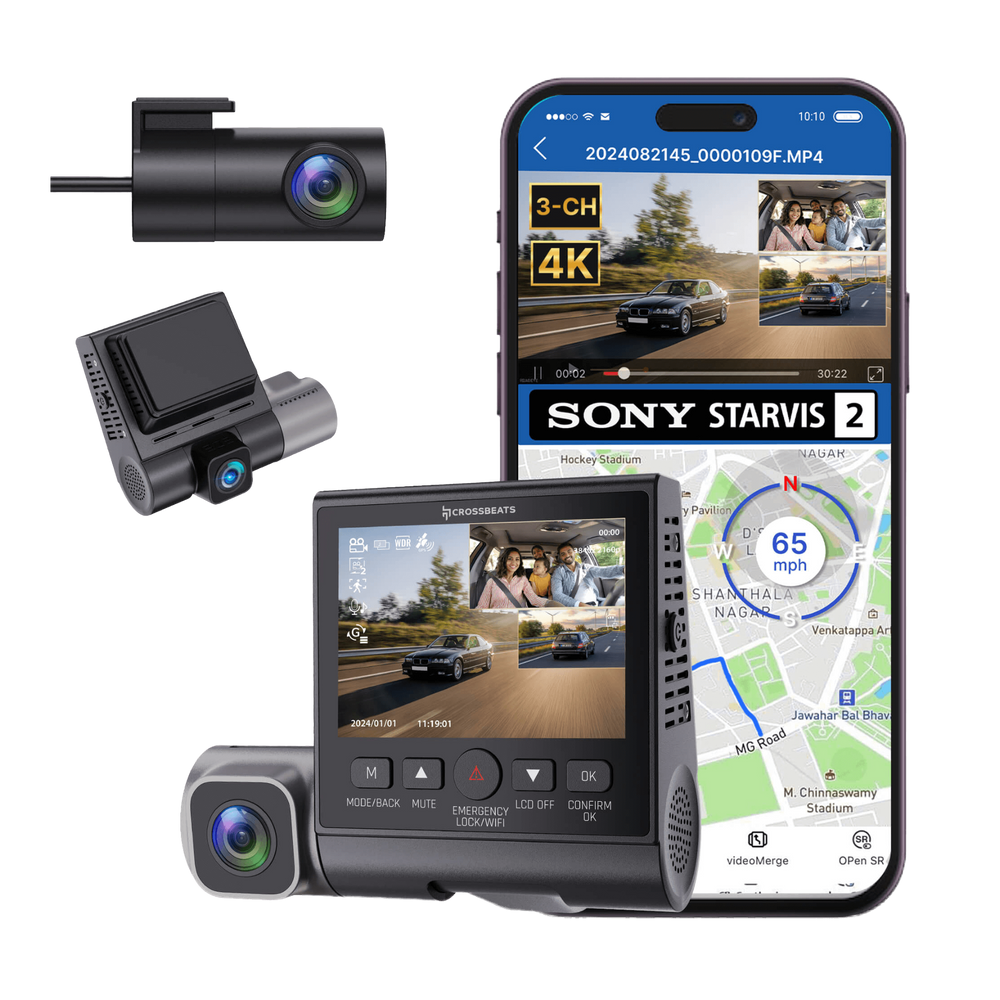
Crossbeats RoadEye DC04 4K 3-Channel Dash Cam
Crossbeats
Cab, taxi and fleet drivers who need the cabin on record
View details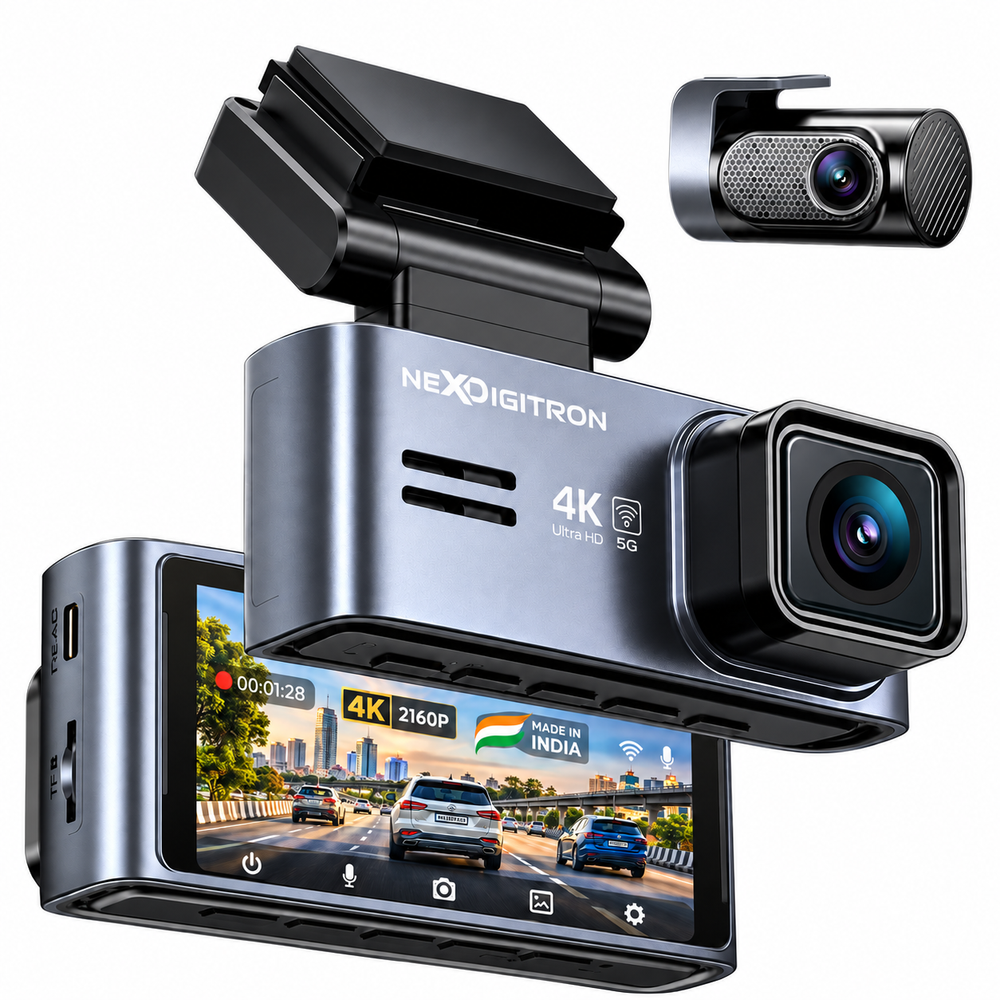
NEXDIGITRON Prime Plus 4K Dual Dash Cam
NEXDIGITRON
Daily commuters who want front and rear evidence
View details